In this tutorial, we will build a Recipe Book application that allows users to add and edit recipes. You will learn how to implement features for editing cooking instructions and managing ingredient lists, complete with Undo/Redo support for text editing.
The goal of this guide is to demonstrate the core capabilities of the Asv.Avalonia framework through a practical example, covering:
Pages (Application entry point and navigation).
Historical Properties (Undo/Redo mechanics).
Dialogs (Modal windows for data input).
Notifications (Toast messages).
Layout (Persisting and restoring UI state).
Project Setup
We will skip the initial application initialization steps by using the boilerplate code from the Project setup guide. For a more detailed explanation of Pages, please refer to the Adding pages documentation.
Running the Application
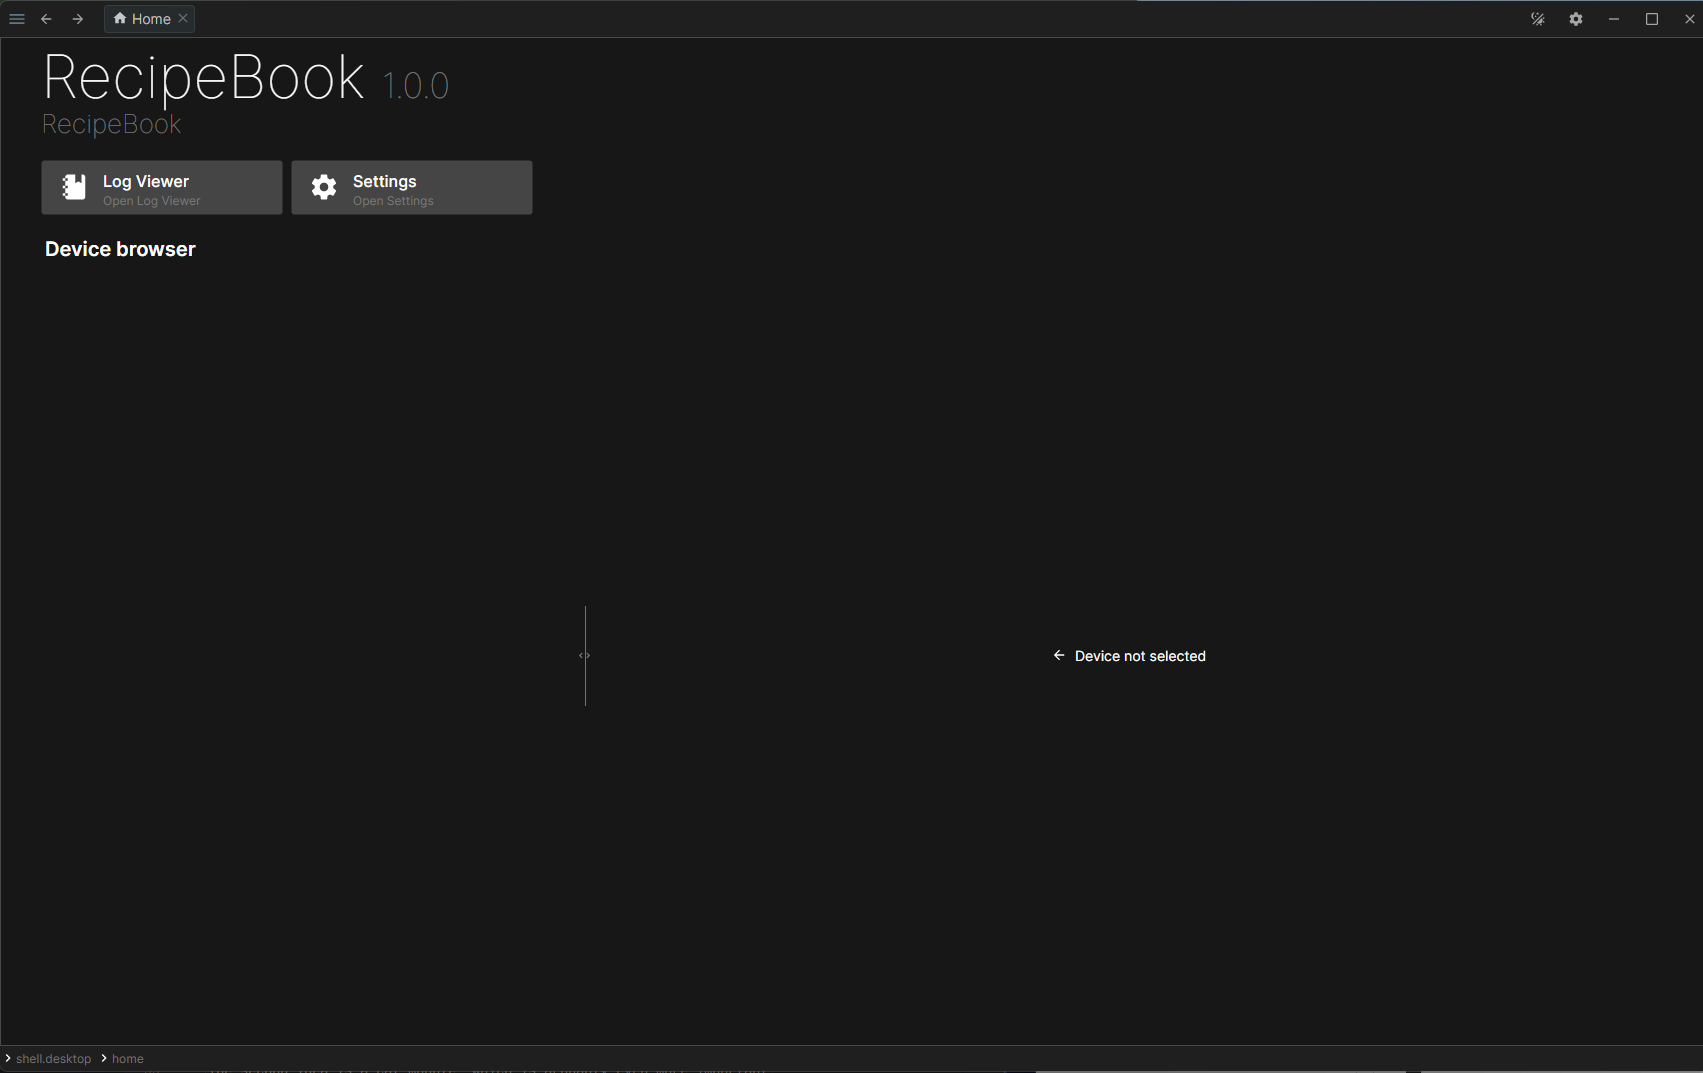
Let's launch the project to verify the setup:
Adding a Page
Create the RecipePageViewModel and RecipePageView in the Shell/Pages/Recipes directory.
// RecipePageViewModel.cs
using Asv.Avalonia;
using Material.Icons;
using Microsoft.Extensions.Logging;
namespace AsvAvaloniaTest;
public class RecipePageViewModel : PageViewModel<RecipePageViewModel>
{
public const string PageId = "recipe_page";
public const MaterialIconKind PageIcon = MaterialIconKind.ViewGallery;
private readonly ILoggerFactory _loggerFactory;
public RecipePageViewModel(
IPageContext context,
ILoggerFactory loggerFactory,
IDialogService dialogService,
IExtensionService ext
)
: base(PageId, context, loggerFactory, dialogService, ext)
{
_loggerFactory = loggerFactory;
Header = "Recipe Book";
Icon = PageIcon;
}
protected override void AfterLoadExtensions() { }
}
All dependencies are injected by the DI container. IPageContext carries the page infrastructure: navigation arguments and the stores where the page persists its layout and undo history — we just pass it to the base class. Header and Icon define how the page tab looks in the shell.
Define the XAML layout for RecipePageView, dividing it into two main sections: a left sidebar for the recipe list and a right editor area for the recipe description and ingredients.
Create the code-behind file RecipePageView.axaml.cs.
// RecipePageView.axaml.cs
using Avalonia.Controls;
namespace AsvAvaloniaTest;
public partial class RecipePageView : UserControl
{
public RecipePageView()
{
InitializeComponent();
}
}
Opening the Page from the Home Page
To open our page, we use an "Extension" to inject the button into the Home Page's tool list. Create HomePageRecipeExtension.cs in the Shell/Pages/Recipes directory.
// HomePageRecipeExtension.cs
using Asv.Avalonia;
using Asv.Common;
using Asv.Modeling;
using R3;
namespace AsvAvaloniaTest;
public class HomePageRecipeExtension : IExtensionFor<IHomePage>
{
// A unique ID for the extension
public const string StaticId = "ext.home.recipe-book";
public string Id => StaticId;
public void Extend(IHomePage context, CompositeDisposable contextDispose)
{
var action = new ActionViewModel("open-recipe-book")
{
Header = "Recipe Book",
Description = "Open recipes",
Icon = RecipePageViewModel.PageIcon,
Command = new ReactiveCommand(_ =>
context.GoTo(new NavPath(new NavId(RecipePageViewModel.PageId)))
).DisposeItWith(contextDispose),
}.DisposeItWith(contextDispose);
context.Tools.Add(action);
}
}
When the Home Page is created, the framework applies all extensions registered for IHomePage. Our extension adds an ActionViewModel — a header, a description, an icon, and a command that performs the navigation — to the page's tools list. Everything we create here is tied to contextDispose, so it is disposed together with the page.
Organizing Application Registration
In the Get Started page guide, we registered the page and its extension directly through builder.Pages and builder.Extensions. That approach is intentionally simple and works well for a small application. Recipe Book builds on that example, but its registration already spans pages, dialogs, and extensions. To keep Program.cs focused on application composition, we will now introduce an application-specific builder and organize the UI registrations into Shell and Pages responsibility zones.
Create RecipeBookRegistrations.cs in the project root:
using System;
using Asv.Avalonia;
using Microsoft.Extensions.Hosting;
namespace AsvAvaloniaTest;
public static class RecipeBookRegistrations
{
extension(IHostApplicationBuilder builder)
{
public Builder RecipeBook => new(builder);
public IHostApplicationBuilder RegisterRecipeBookApp(Action<Builder>? configure = null)
{
configure ??= recipeBook => recipeBook.RegisterDefault();
configure(new Builder(builder));
return builder;
}
}
public class Builder(IHostApplicationBuilder builder) : IDependencyBuilder
{
public IHostApplicationBuilder AppBuilder => builder;
public Builder RegisterDefault()
{
this.RegisterShell();
return this;
}
}
}
The Shell zone owns pages and other UI composition. Create Shell/ShellRegistrations.cs and Shell/Pages/PagesRegistrations.cs:
// Shell/ShellRegistrations.cs
using System;
using Asv.Avalonia;
using Microsoft.Extensions.Hosting;
namespace AsvAvaloniaTest;
public static class ShellRegistrations
{
extension(RecipeBookRegistrations.Builder builder)
{
public Builder Shell => new(builder);
public RecipeBookRegistrations.Builder RegisterShell(Action<Builder>? configure = null)
{
configure ??= shell => shell.RegisterDefault();
configure(new Builder(builder));
return builder;
}
}
public class Builder(RecipeBookRegistrations.Builder builder) : IDependencyBuilder
{
public IHostApplicationBuilder AppBuilder => builder.AppBuilder;
public Builder RegisterDefault()
{
this.RegisterPages();
return this;
}
}
}
// Shell/Pages/PagesRegistrations.cs
using System;
using Asv.Avalonia;
using Microsoft.Extensions.Hosting;
namespace AsvAvaloniaTest;
public static class PagesRegistrations
{
extension(ShellRegistrations.Builder builder)
{
public Builder Pages => new(builder);
public ShellRegistrations.Builder RegisterPages(Action<Builder>? configure = null)
{
configure ??= pages => pages.RegisterDefault();
configure(new Builder(builder));
return builder;
}
}
public class Builder(ShellRegistrations.Builder builder) : IDependencyBuilder
{
public IHostApplicationBuilder AppBuilder => builder.AppBuilder;
public Builder RegisterDefault()
{
this.RegisterRecipePage();
return this;
}
}
}
Finally, create Shell/Pages/Recipes/RecipePageRegistrations.cs. This registration method owns the page and its Home Page extension as one unit:
using Asv.Avalonia;
namespace AsvAvaloniaTest;
public static class RecipePageRegistrations
{
extension(PagesRegistrations.Builder builder)
{
public PagesRegistrations.Builder RegisterRecipePage()
{
builder.AppBuilder.Pages.Register<RecipePageViewModel, RecipePageView>(
RecipePageViewModel.PageId
);
builder.AppBuilder.Extensions.Register<IHomePage, HomePageRecipeExtension>();
return builder;
}
}
}
Program.cs now registers the Recipe Book as a single application feature:
The application, shell, and pages builders implement IDependencyBuilder and forward AppBuilder, but expose only the registration methods for their own zones. Supplying a configure callback replaces the corresponding default preset, which makes selective composition possible without moving feature details back into Program.cs. The Recipe Page itself has no alternative presets, so RegisterRecipePage registers the complete page feature directly.
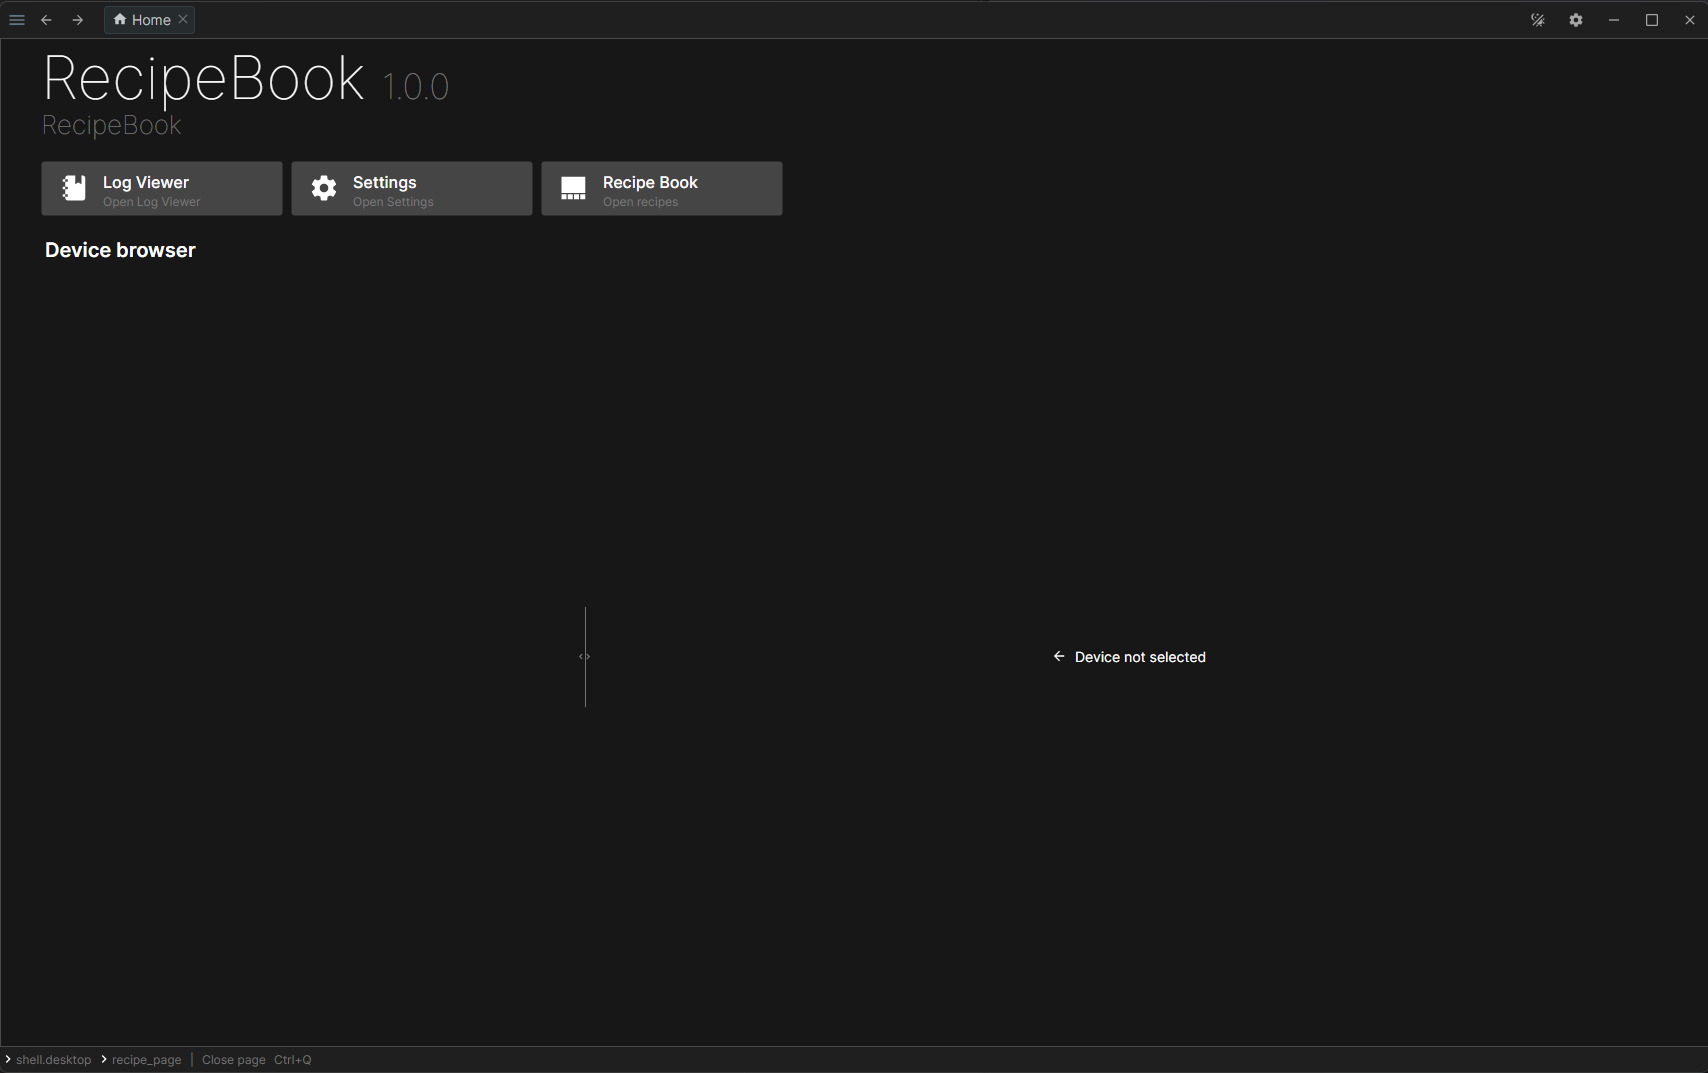
The Recipe Book menu item now appears on the Home Page:
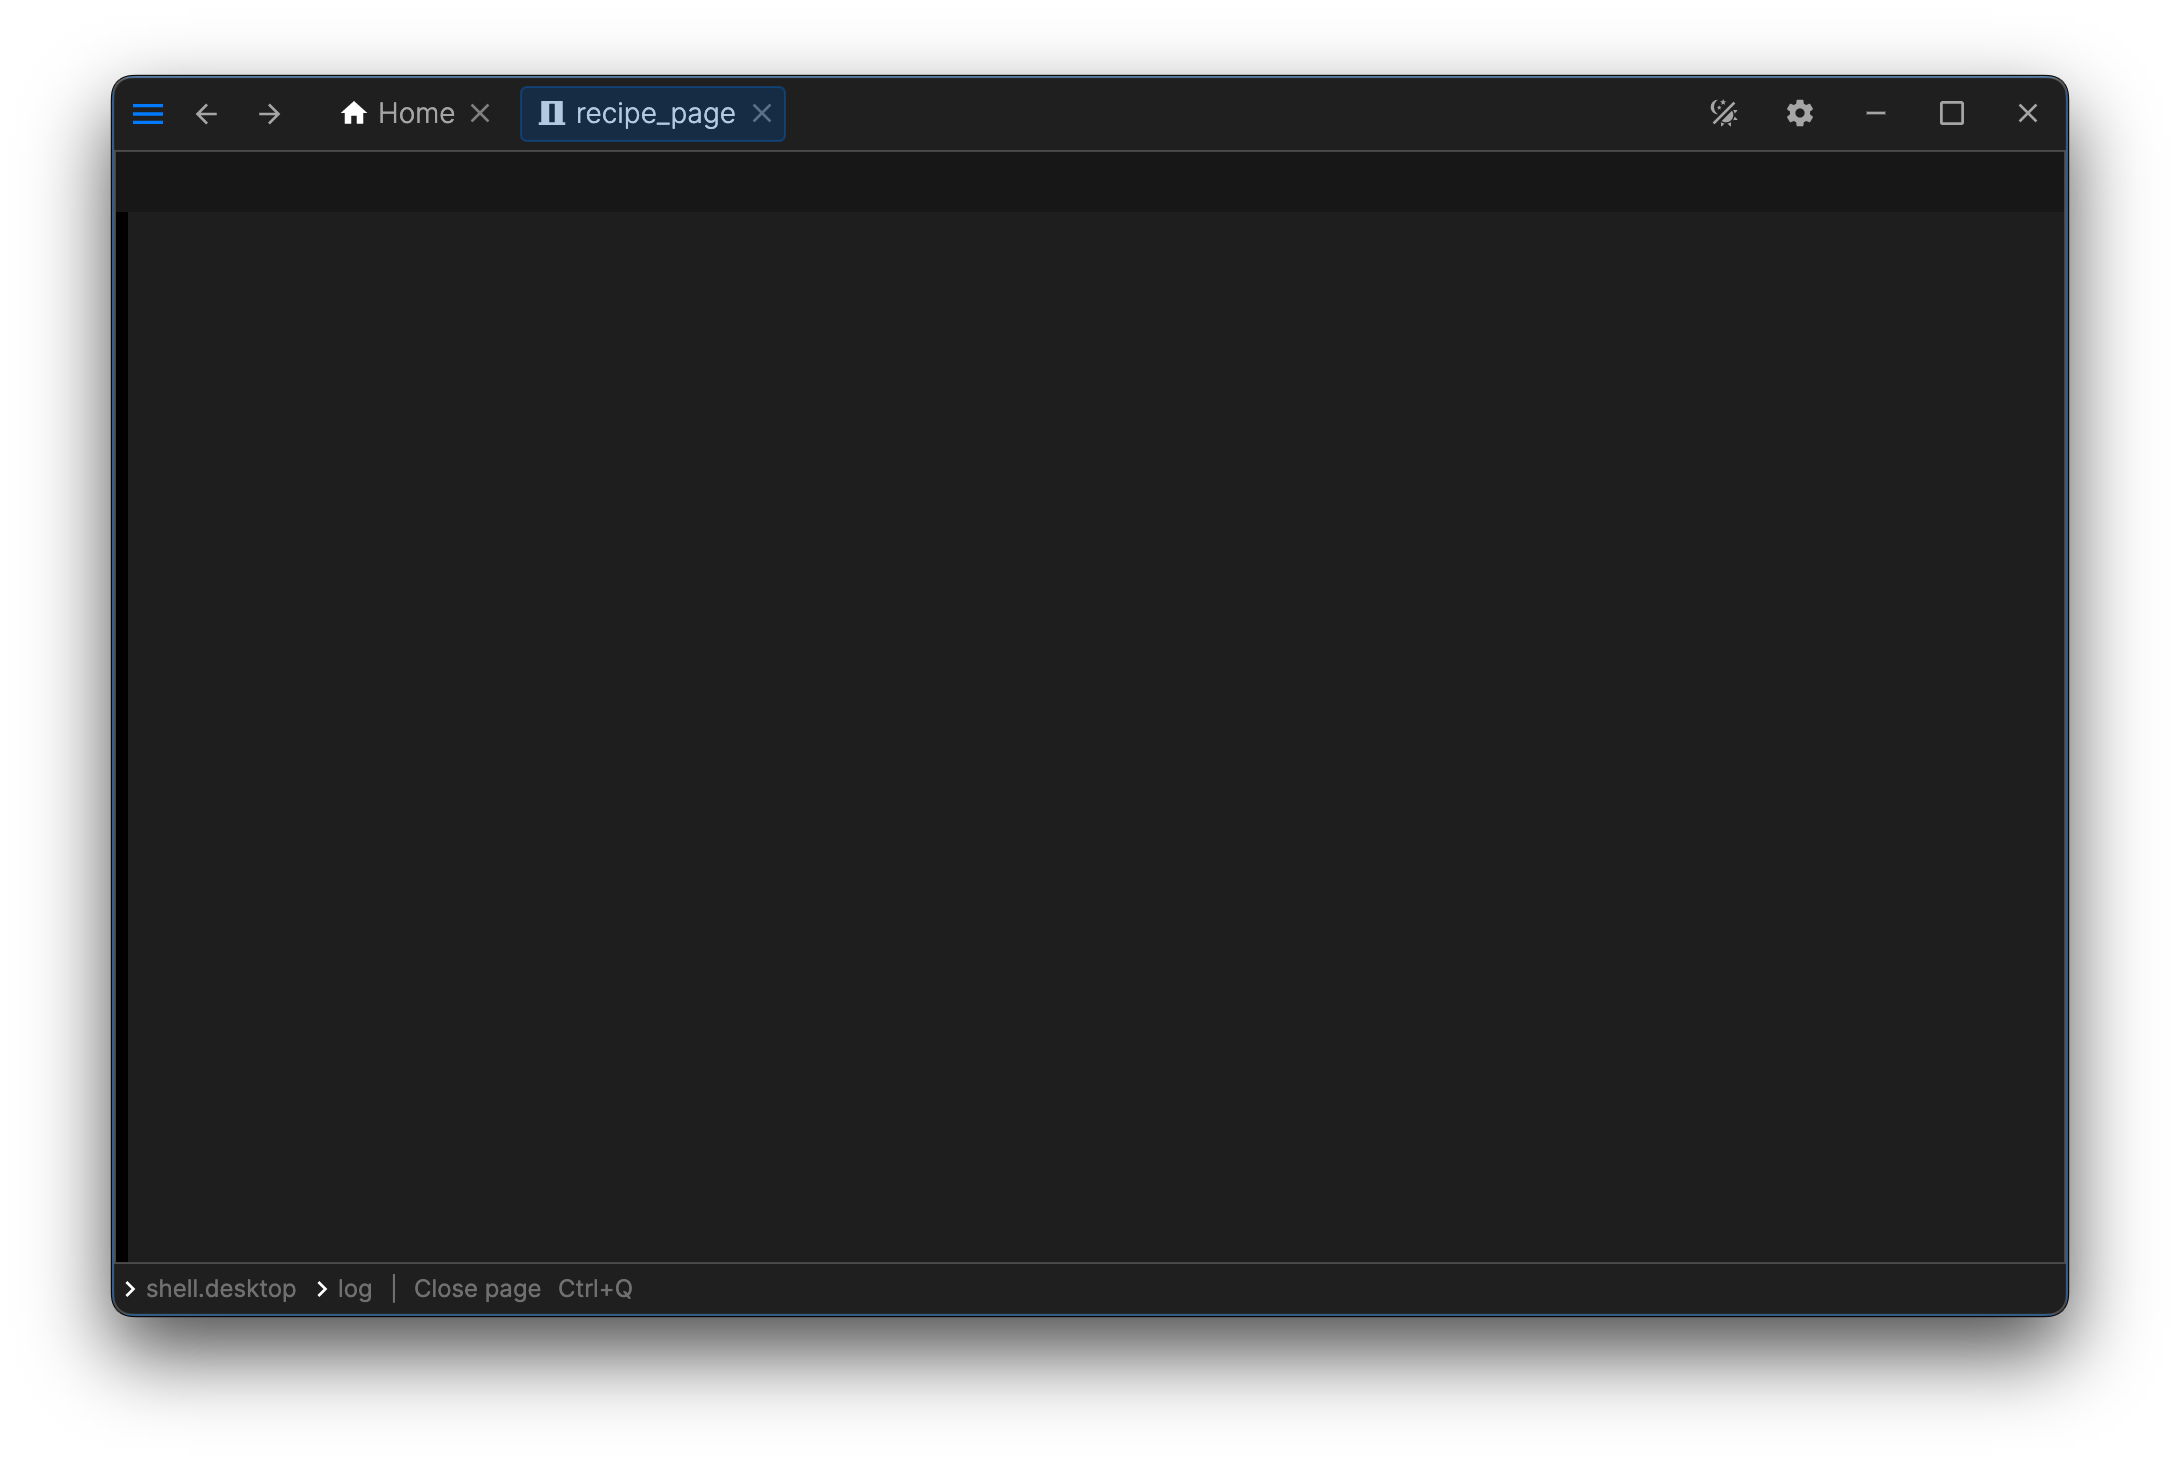
The application currently looks like this:
Recipe and Ingredient View Models
Let's create the fundamental components of the Recipe Book: the recipe and its ingredient list. We will utilize Historical properties to enable built-in Undo/Redo support.
Create the IngredientViewModel, which supports Undo/Redo operations for editing the ingredient name and amount. Place this file in the Shell/Pages/Recipes/Ingredients directory.
// IngredientViewModel.cs
using System.Collections.Generic;
using Asv.Avalonia;
using Asv.Common;
using Asv.Modeling;
using Microsoft.Extensions.Logging;
using R3;
namespace AsvAvaloniaTest;
public class IngredientViewModel : ViewModel
{
public const string BaseId = "ingredient";
private readonly ReactiveProperty<string?> _name;
private readonly ReactiveProperty<string?> _amount;
public IngredientViewModel(string id, string name, string amount, ILoggerFactory loggerFactory)
: base(BaseId, new NavArgs(new KeyValuePair<string, string?>("id", id)))
{
IngredientId = id;
_name = new ReactiveProperty<string?>(name).DisposeItWith(Disposable);
Name = new HistoricalStringProperty(
nameof(Name),
_name,
loggerFactory
).SetRoutableParent(this)
.DisposeItWith(Disposable);
_amount = new ReactiveProperty<string?>(amount).DisposeItWith(Disposable);
Amount = new HistoricalStringProperty(
nameof(Amount),
_amount,
loggerFactory
).SetRoutableParent(this)
.DisposeItWith(Disposable);
}
public string IngredientId { get; }
public HistoricalStringProperty Name { get; }
public HistoricalStringProperty Amount { get; }
public override IEnumerable<IViewModel> GetChildren()
{
yield return Name;
yield return Amount;
}
}
Every view model has a NavId identifier that consists of a type ID and optional arguments. Since many ingredients exist at the same time, we pass the unique id as a navigation argument — this keeps every ingredient uniquely addressable in the view model tree, which is what the Undo/Redo routing relies on. We also keep the raw id in the IngredientId property — it will be useful later for persistence.
HistoricalStringProperty wraps a regular ReactiveProperty and records every change in the undo history. SetRoutableParent attaches the property to the view model tree, and GetChildren exposes the children for event routing.
Define the RecipeViewModel in the Shell/Pages/Recipes directory to represent a recipe, including its title, category, and ingredient list.
// RecipeViewModel.cs
using System.Collections.Generic;
using Asv.Avalonia;
using Asv.Common;
using Asv.Modeling;
using Microsoft.Extensions.Logging;
using ObservableCollections;
using R3;
namespace AsvAvaloniaTest;
public class RecipeViewModel : ViewModel
{
public const string BaseId = "recipe";
private readonly ILoggerFactory _loggerFactory;
private readonly ReactiveProperty<string?> _title;
private readonly ReactiveProperty<string?> _category;
private readonly ReactiveProperty<string?> _instruction;
private readonly ObservableList<IngredientViewModel> _ingredients = [];
public RecipeViewModel(string id, string title, string? category, string? instruction,
IEnumerable<IngredientViewModel> ingredients,
ILoggerFactory loggerFactory)
: base(BaseId, new NavArgs(new KeyValuePair<string, string?>("id", id)))
{
_loggerFactory = loggerFactory;
RecipeId = id;
_title = new ReactiveProperty<string?>(title).DisposeItWith(Disposable);
Title = new HistoricalStringProperty(
nameof(Title),
_title,
loggerFactory
).SetRoutableParent(this)
.DisposeItWith(Disposable);
_category = new ReactiveProperty<string?>(category).DisposeItWith(Disposable);
Category = new HistoricalStringProperty(
nameof(Category),
_category,
loggerFactory
).SetRoutableParent(this)
.DisposeItWith(Disposable);
_instruction = new ReactiveProperty<string?>(instruction).DisposeItWith(Disposable);
Instruction = new HistoricalStringProperty(
nameof(Instruction),
_instruction,
loggerFactory
).SetRoutableParent(this)
.DisposeItWith(Disposable);
_ingredients.AddRange(ingredients);
_ingredients.SetRoutableParent(this).DisposeItWith(Disposable);
_ingredients.DisposeRemovedItems().DisposeItWith(Disposable);
Ingredients = _ingredients.ToNotifyCollectionChangedSlim(SynchronizationContextCollectionEventDispatcher.Current)
.DisposeItWith(Disposable);
}
public string RecipeId { get; }
public HistoricalStringProperty Title { get; }
public HistoricalStringProperty Category { get; }
public HistoricalStringProperty Instruction { get; }
public NotifyCollectionChangedSynchronizedViewList<IngredientViewModel> Ingredients { get; }
public override IEnumerable<IViewModel> GetChildren()
{
foreach (var ingredient in _ingredients)
{
yield return ingredient;
}
yield return Title;
yield return Category;
yield return Instruction;
}
}
Here SetRoutableParent is applied to the whole _ingredients collection: every ingredient added to the list automatically becomes a child of the recipe, and DisposeRemovedItems disposes ingredients when they are removed. The Ingredients property wraps the list into a view suitable for XAML data binding.
Update RecipePageViewModel to manage the recipe list.
Add a new field in RecipePageViewModel to store the collection of recipes:
Initialize the observable list in the RecipePageViewModel constructor and wrap it for XAML data binding. We also need a property to track the currently selected recipe, which will display its cooking instructions and ingredient list.